View a single route vs. all routes
By Nathan ColeUpdated
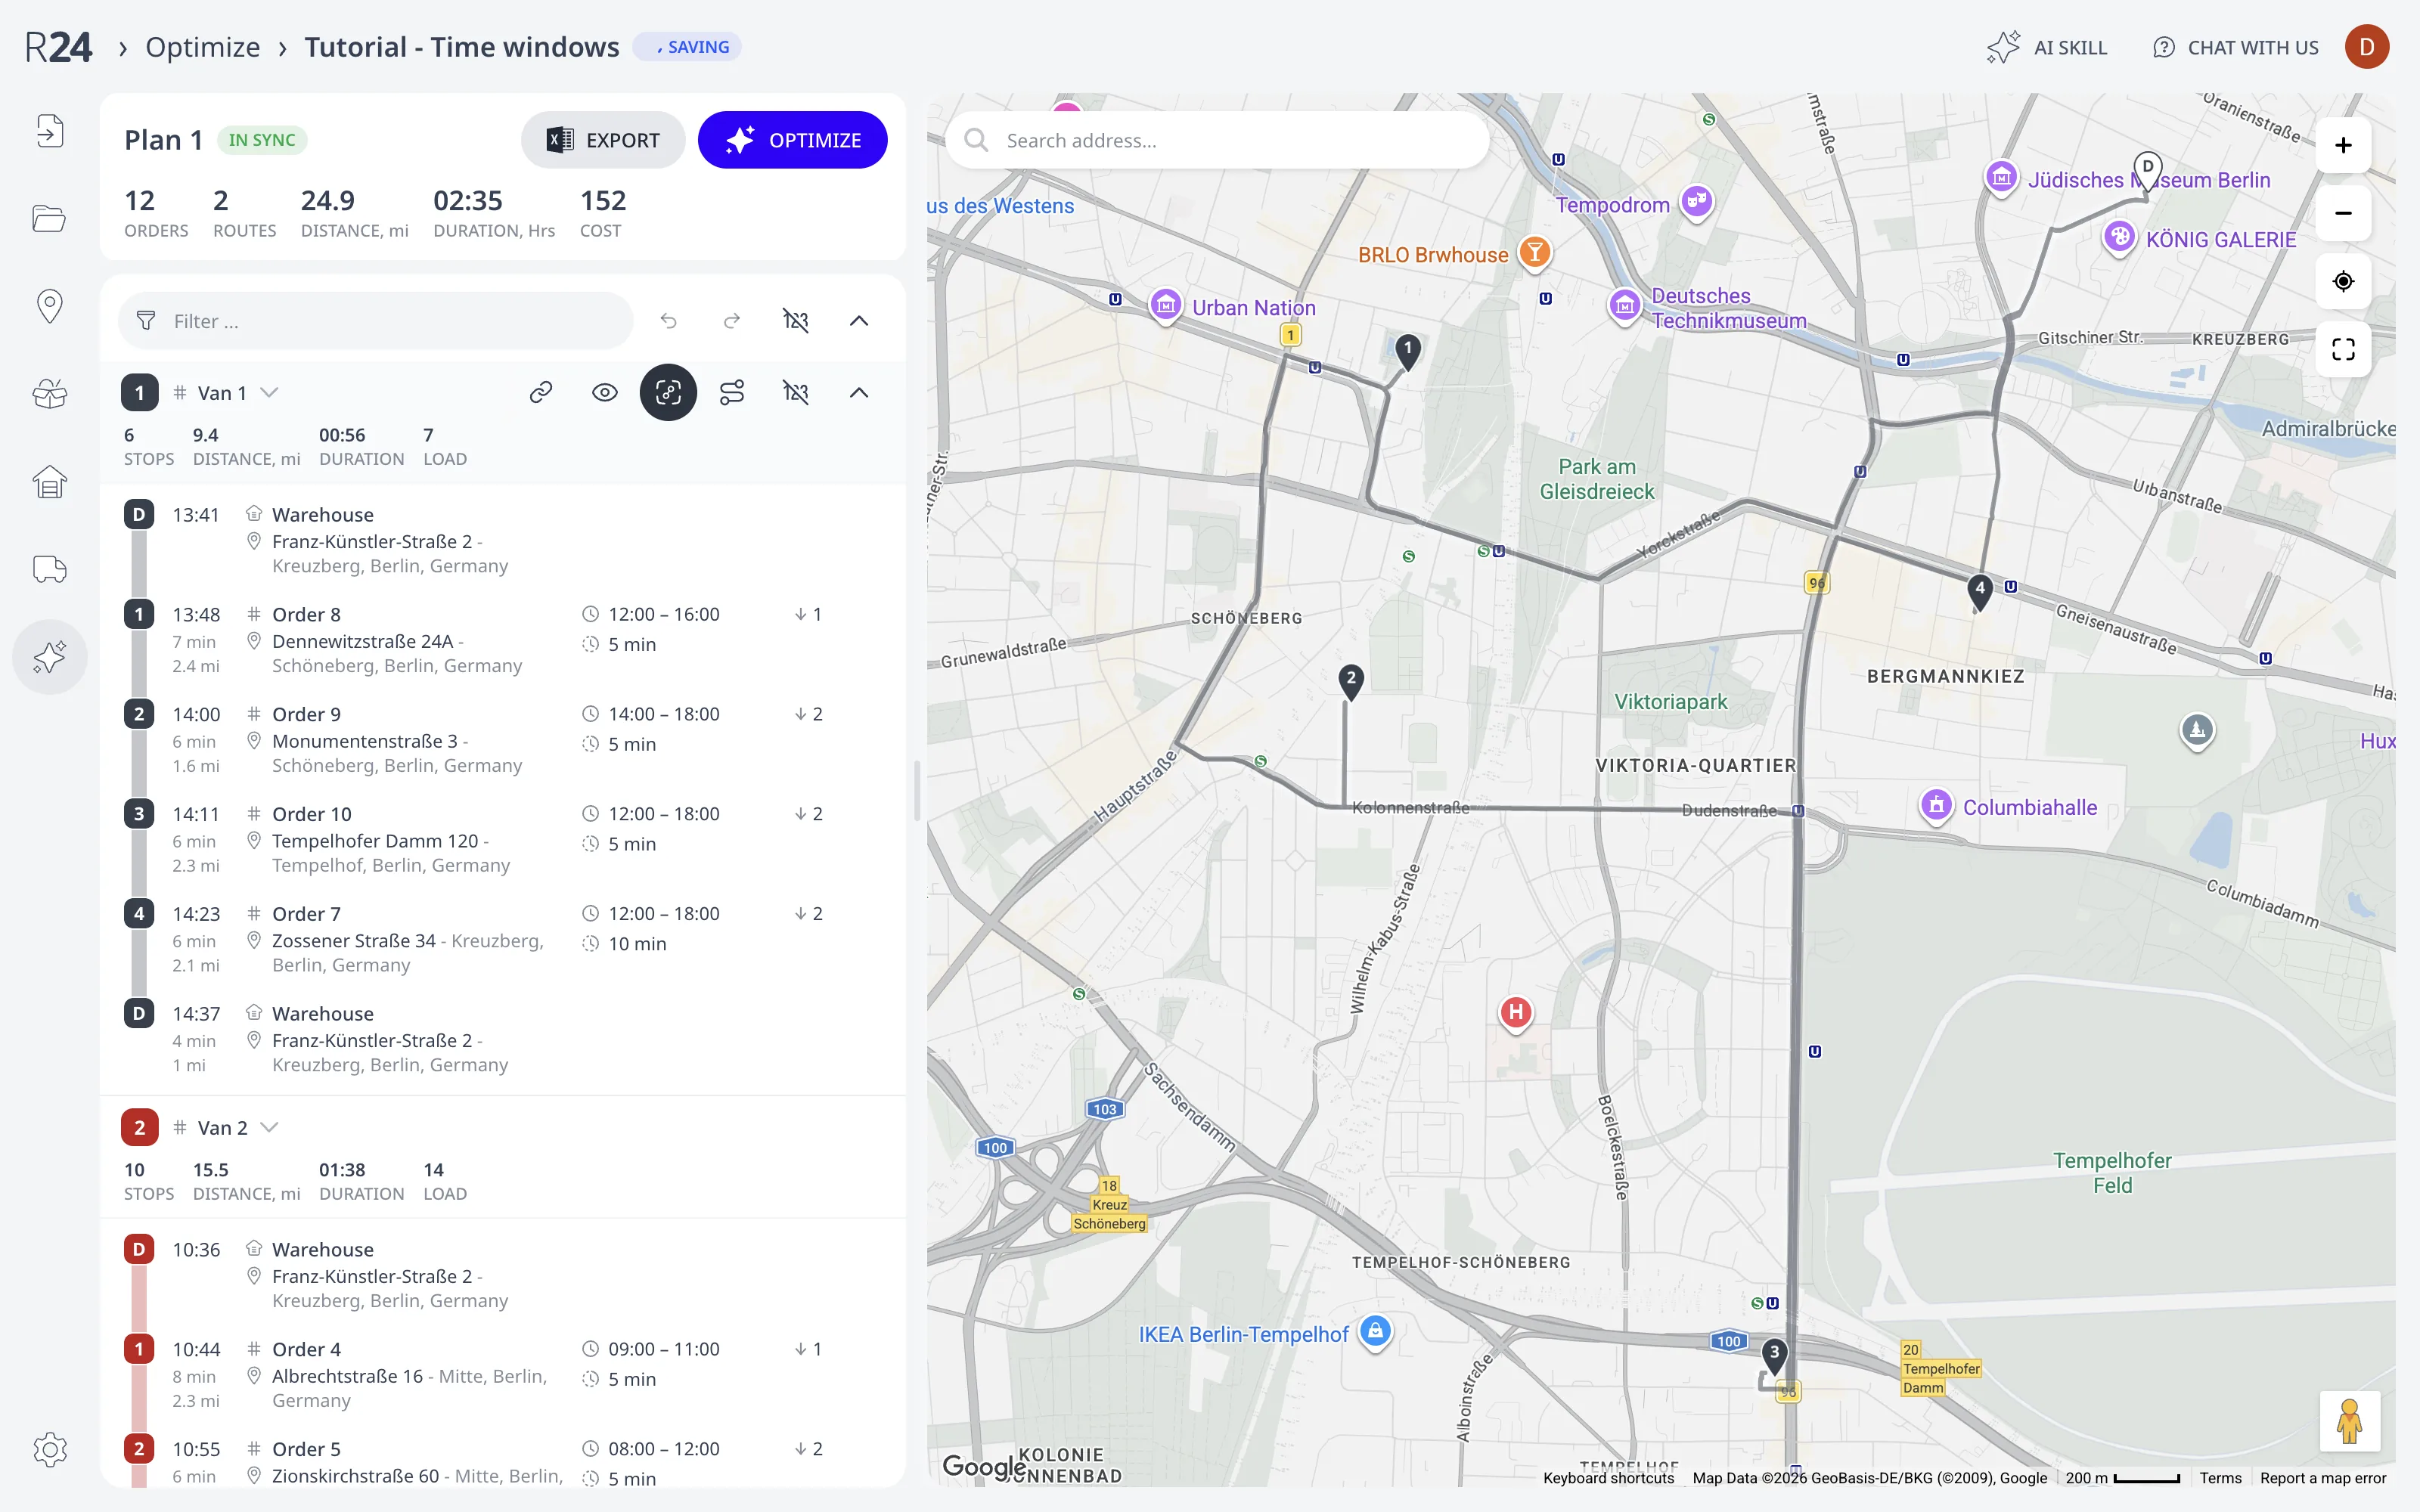
Each route card on the Optimize page has map controls for its route. The eye icon hides or shows the route's line and pins. Isolate layer hides every other route and zooms to this one. Pressing it again restores the previous view. Hiding changes the map only. A hidden route still counts in the plan metrics and still exports.
This page covers the route colors, the card buttons, the route menu's map actions, and the Unassigned layer.
The examples use the Time windows plan (12 orders, 2 vans). Load it and press Optimize:
Route colors
Every route gets a color from a fixed palette, used for the route's number chip in the list, its line on the map, and every stop pin on it. The palette is ordered so neighboring routes get visually distant colors. With more than 14 routes the colors repeat.
Unassigned orders are outside the palette: white pins with a red rim and a red glow, marking an order that is on no route.
The buttons on each route card
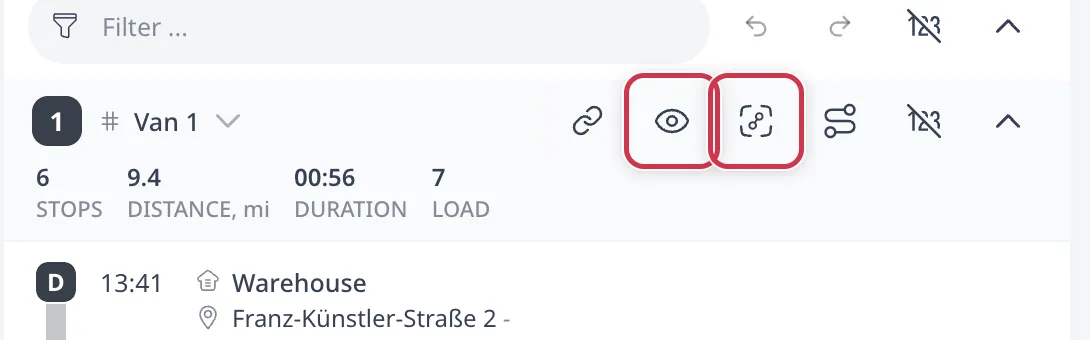
Each route card header on the Optimize page shows the map controls for that route:
- Hide layer on map (the eye icon) removes the route's line and pins from the map. Press again (Show layer on map) to bring them back. Hiding affects the map only. The route still counts in the plan metrics and exports.
- Isolate layer hides every other route and zooms the map to this one alone. While isolation is on, the button stays highlighted and its tooltip reads Show previous view. Pressing it again restores the previous route visibility and viewport. Pressing Isolate layer on a different route while one is already isolated switches the isolation. The restore still returns to the original view.
For a driver-by-driver review, isolate route 1, review its stops, isolate route 2, then press the button again to restore the whole plan.
The route menu
The Route actions menu (the winding route icon on the route card) has a Map actions section:
- Center map on route zooms the map to the route's extent without changing what is visible. Use it to jump to a route at the far edge of the plan.
- Hide this route / Show this route is the same toggle as the eye icon.
- Hide all routes hides every route except this one and keeps the map centered where it is. Unlike Isolate layer, it does not zoom and does not remember a view to restore. While the other routes are hidden, the item reads Show all routes. Pressing it restores every route.
Hide, isolate, or hide all
The four map actions differ in what they hide, whether they zoom, and what a second press restores:
| Action | Where | What it hides | Zooms | Second press |
|---|---|---|---|---|
| Hide layer on map (eye icon) | Route card header | This route's line and pins | No | Show layer on map draws the route again |
| Isolate layer | Route card header | Every other route | Yes, to this route | Show previous view restores the earlier visibility and viewport |
| Hide all routes | Route actions menu | Every other route | No, the map stays where it is | Show all routes restores every route, with no remembered view |
| Center map on route | Route actions menu | Nothing | Yes, to this route | Nothing to restore |
The Unassigned layer
The red Unassigned section above the routes has the same eye and isolate buttons as a route card. Isolating it zooms the map to the unassigned pins only. Unassigned orders clustered in one area suggest that one more vehicle or a longer shift would serve them all. See Why an order went unassigned.
The controls on this page change what the map draws, not the plan. To move stops between routes, drag the pins as described in Optimization results on the map, or see Edit routes by hand.
Next step
Read the stop details behind the pins in Optimization results on the map.
FAQ
Does hiding a route on the map remove it from the plan?
No. The eye icon changes what the map draws and nothing else. A hidden route keeps its stops, still counts in the metrics strip, and still appears in the Excel export. Press the icon again, now labeled Show layer on map, to draw it again. To move stops between routes, drag pins or edit routes by hand.
What is the difference between Isolate layer and Hide all routes?
Isolate layer hides every other route and zooms the map to this one. It remembers the previous view. Pressing it again, now labeled Show previous view, restores both the visibility and the viewport. Hide all routes, in the Route actions menu, also hides the other routes but keeps the map where it is and remembers nothing.
How do I review the routes one driver at a time?
Press Isolate layer on route 1, check its stops on the map, then press Isolate layer on route 2. Isolating a second route while one is already isolated switches the isolation. When you are done, press the highlighted button once more. The map returns to the full plan at the original view, with every route visible again.
Why are some pins white with a red rim?
Those are unassigned orders, drawn outside the route color palette because they are on no route. The red Unassigned section has the same eye and isolate buttons as a route card. Isolating it zooms the map to the unassigned pins only. A cluster in one area suggests that one more vehicle or a longer shift would serve them.